
Saturday, July 5, 2014
Sunday, May 5, 2013
Happy Anniversary House!
 It was 8 years ago today that we moved in to the 1916 Portland Bungalow, so I thought I'd celebrate with a blog post!
You haven't heard much from me lately because I haven't been doing any house projects. I got a little burnt out a couple years ago (when I finally gave-in and paid someone to finish painting the dining room). Since then I've been spending my free time doing other techie stuff, not related to the house.
 The top of our list for this spring has been to get the back yard in order so we can eat dinner outside during the summer months and have company over for backyard S'mores parties. ;-)

Then I spend another few weeks breaking up the concrete footings from the old deck and leveling the yard out (there was about a 4" crown of dirt covering most of the yard). I could tell when I got back to level because I found about 5 ancient sprinkler heads from the original sprinkler system that were buried by 4" of dirt).
Yesterday was the icing on the cake; it took me a whole two hours to lay all of the sod and have an insta-lawn! Tonight was our first dinner on the patio, and it was fantastic!
Wednesday, May 18, 2011
Seamless Gutter Installation
Today I had the guys from Great NW Gutters out to put new rain gutters on the house. (Thanks to Dawn at Bungalowcious for the referral) I'm quite happy with the results.
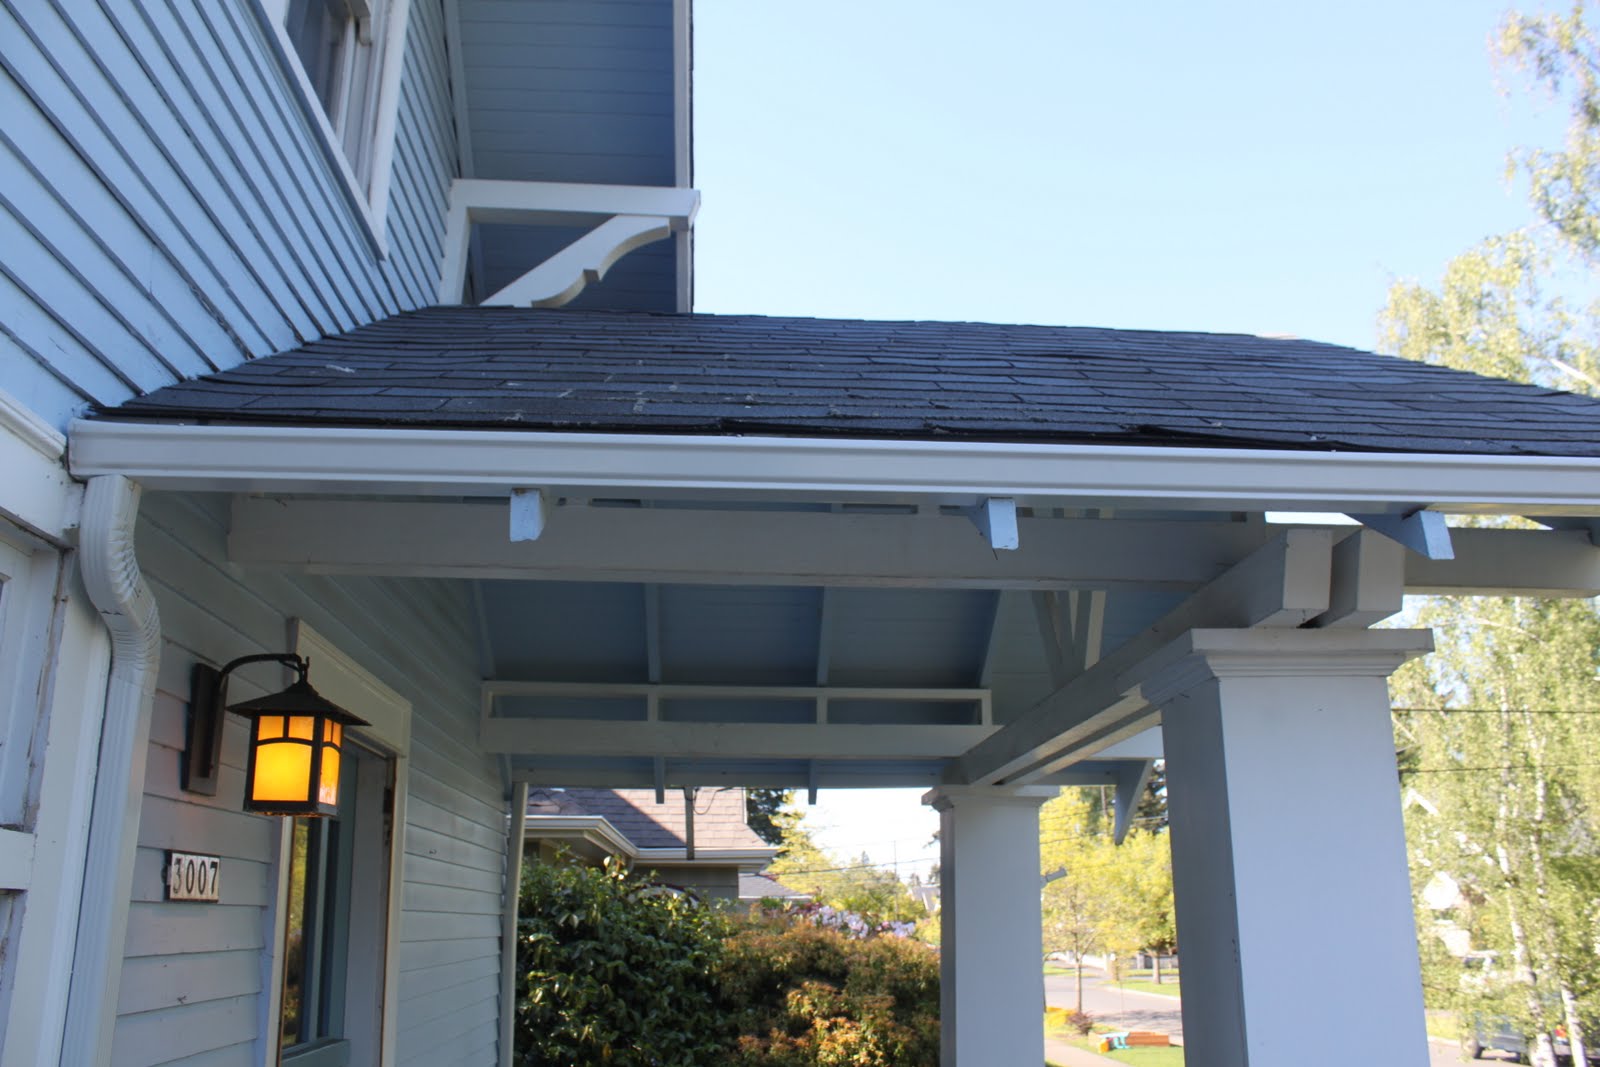 |
| Porch Roof Gutter |
I chose the steel gutters with the plain white baked on enamel finish, in the 4" K style. The rafter tails were already notched for this size gutter, so the installation was pretty straight forward. I had them use straps instead of spikes to mount the gutters, not wanting to put any more holes in the rafter tails.

There were no gutter guards on the old plastic cheapo-gutters. They had more flora and fauna living in them than my yard! They were PVC gutters with leaky seams and clogged downspouts.
 This is a downspout funnel on the front porch going into the drain. This should hopefully help reduce the amount of slimy green stuff growing on the porch, making it teflonesque during the rainy months.
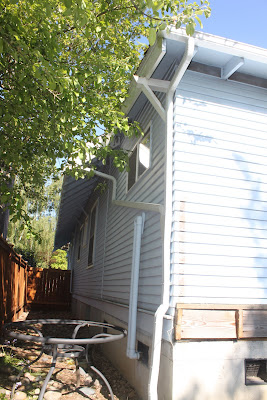
You can see the guys did a great job of structuring the downspouts in the back. Both of these lead into a funnel and into the drain. I was going to disconnect these from the drain, but their proximity to the future egress window made me think twice.


Friday, May 13, 2011
3rd Annual Bungalow Blog Tour
Rare Archival Footage Unearthed!
I was able to find and upload a walkthrough of the 'Ol 1916 Portland Bungalow that our Realtor shot for us before we moved in. I was able to come out to Portland from Houston, but my wife was not, so this video is the only thing she saw of the house before we bought it!
It's kinda long, but I thought you might enjoy it. I can't believe how many things I see in the video that I totally forgot I had ripped out long ago (crappy old mailbox, toilet, dining room light fixture, etc.)
Wednesday, May 4, 2011
OKeefe & Merritt Rebuild Begins
 |
| Disassembled O'Keefe & Merritt Gas Stove |
 |
| Old gas burner heads, burner tubes, and the manifold with the valves and thermostat |
After I get the stove working like new, I'll use it for a while to see how I like cooking on a vintage stove. If I still like it, I'll probably do a more thorough restoration and have all of the chrome redone as well replacing a few missing odds and ends.
Subscribe to:
Posts (Atom)
Subscribe |
Portland HouseblogsBlogs I Like
About Me |


